How to Set Up a Smell-Free Kitchen Worm Bin in Under 30 Minutes
```html
Ditch the Stink. Here's How.
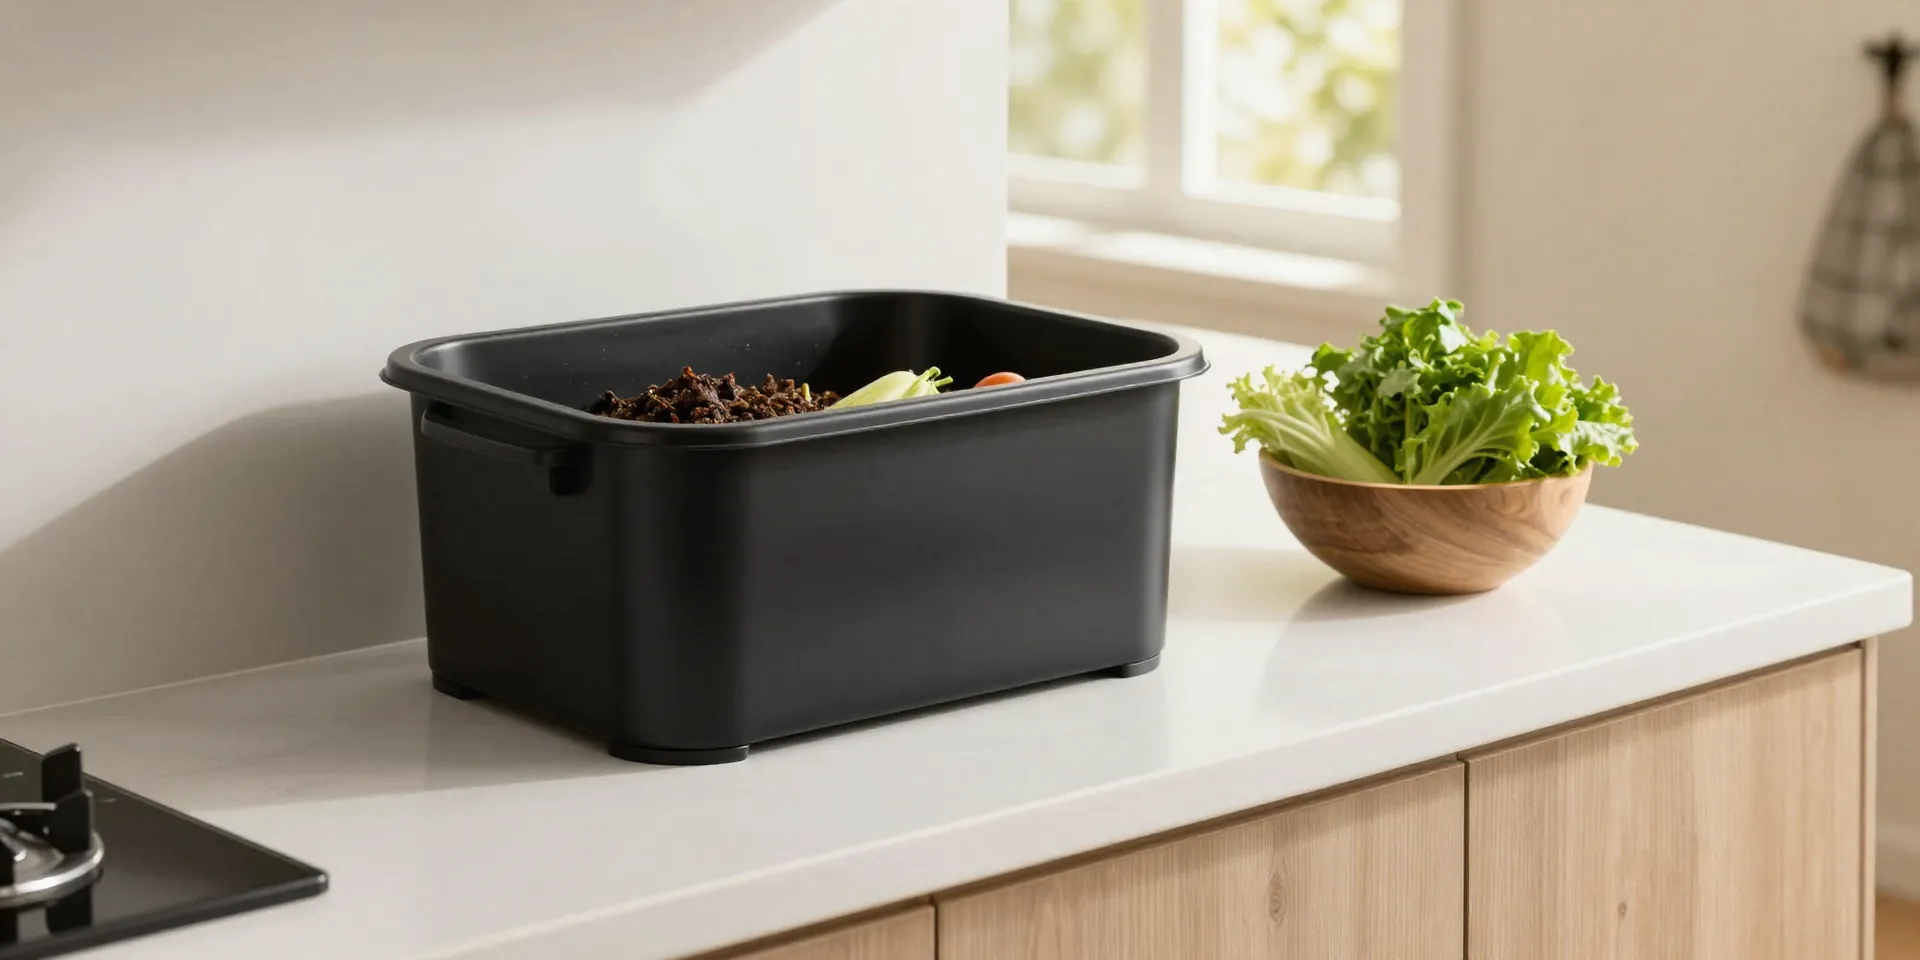
You want to compost. You live in an apartment. The thought of a box of worms decomposing your leftovers under your sink makes you want to gag. I get it. The fear of smell is the number one reason people bail on indoor vermicomposting before they even start. But here's the thing: a worm bin only reeks when it's set up wrong. Like, catastrophically wrong. Get the basics right—airflow, moisture, and what you actually feed them—and your bin will smell like damp earth. Not rotting garbage. Earth. This guide will walk you through building a smell-free worm bin from zero to hero in under thirty minutes. No fancy gear. No outdoor space. Just you, some red wigglers, and a new reason to feel smug about your environmental footprint.
What You Actually Need (Spoiler: Not Much)
Stop overcomplicating this. You do not need a $200 "vermicomposting system" from a boutique gardening store. You need a bin. A drill. Some bedding. Worms. That's the list. For the bin, grab a standard 10-gallon opaque plastic tote with a lid—opaque because worms hate light, and they will try to escape if they see your kitchen ceiling. You'll need a drill to poke air holes in the lid, sides, and bottom. Yes, bottom holes too. Drainage matters. For bedding, shredded newspaper, cardboard, or coconut coir works. Avoid glossy paper. Worms aren't into magazine spreads. You'll also need a handful of grit—crushed eggshells or a sprinkle of sand. They have gizzards, not teeth. They need help grinding food. Total cost? Under twenty bucks if you're resourceful. The worms themselves run about thirty dollars for a pound of red wigglers, which is plenty to start. That's your entire shopping list. Let's build this thing.
Build It in 15 Minutes, Not 15 Steps
First, drill. Poke about twenty quarter-inch holes in the lid for ventilation. Then drill another dozen or so along the upper sides of the bin. Finally, put ten to fifteen holes in the bottom. This isn't optional. Stagnant air is what creates anaerobic bacteria, and anaerobic bacteria are the guys who bring the stench. Next, prep your bedding. Soak your shredded newspaper or cardboard in water, then wring it out like a damp sponge. Not dripping. Damp. Fluff it into the bin until it's about six inches deep. This is your worms' habitat, their living room and their dining room. Toss in a small handful of soil or finished compost to introduce beneficial microbes. Then, sprinkle your grit on top. Now, dump your worms right on the bedding surface. They'll burrow down to get away from the light. Cover them with another thin layer of damp newspaper. Done. Seriously. That's the setup. Took me twelve minutes last time.
Feeding Rules That Keep It Smell-Free
This is where most people torch their entire operation. You cannot throw a whole onion into a new bin and expect magic. Worms eat bacteria that decomposes food, not the food itself. They need time. Start slow. For the first week, feed only a cup or two of scraps. Bury the food in one corner, under the bedding. Cover it completely. Rotting food exposed to air smells. Buried food does not. Stick to the good stuff: coffee grounds, vegetable peels, fruit scraps, crushed eggshells, and plain cardboard. The no-fly list? Meat, dairy, oily foods, and citrus in large amounts. These don't just smell bad; they throw off your pH and attract pests. Rotate your feeding spots. Corner one this week, corner two next week. This lets the worms migrate to fresh food and gives old pockets time to finish breaking down. If you lift the lid and smell ammonia or garbage, you're overfeeding. Stop. Add dry bedding. Let it balance out. The worms can go weeks without fresh food. They'll be fine.
The Maintenance Is Basically Nothing
Check on them once a week. Maybe twice if you're neurotic. Lift the newspaper cover. Are the worms clustered in the food zone? Good. Is the bedding still damp like a wrung-out sponge? Good. If it's too wet—if water pools in the bottom—add dry shredded cardboard and cut back on juicy scraps for a bit. If it's dry and dusty, mist it with a spray bottle. That's it. Harvesting castings happens every three to six months depending on your bin size and worm population. The easiest method? Push all the finished compost to one side. Put fresh bedding and food on the other. The worms migrate over in a couple of weeks. You scoop out the black gold they've left behind. No sifting. No mess. No smell. Your houseplants will lose their minds over this stuff.
Worms in an Apartment? Absolutely.
I keep mine under the kitchen sink. My landlord has no idea. My neighbors have no idea. The only person who knows is my partner, and that's because I make them save coffee grounds. If you have a pantry, a closet floor, or even a shady balcony, you have space for this. Red wigglers thrive between 55 and 77 degrees Fahrenheit, which is literally every indoor space ever. In summer, just don't let the bin sit in direct sun or next to a radiator. They'll cook. In winter, don't let them freeze. They won't. The whole "indoor worm bins are gross" narrative is a myth propagated by people who never tried it. Or by people who tried it, overfed a lasagna into it, and wondered why their kitchen smelled like a sewer. Don't be that person. Be the person with a thriving, smell-free ecosystem turning coffee grounds into black gold. It's easier than recycling. And way more satisfying.
```